So you’ve got yourself that new DSLR and are off to visit the Taj or Hampi on your summer vacation. You’ve seen the beautiful images of both these stunning architectural sites and armed with your camera you’re going to make sure you come back with some super shots!
However, believe it or not, that camera is not everything! Some technique and creative vision will go a long way to help you take those beautiful images, just like the ones you see online and in travel magazines!
Here are 7 tips to keep in mind, which will help you take better photos of those beautiful monuments that literally litter India. To know more about what camera and other accessories we use for our travel photography check out this post.
1. Follow the Light
As with all things photography, follow the light! This may seem obvious, but shooting in good light is the one thing that can make a huge difference to your shots, regardless of what lens or camera you use.
Simply paying more attention to the light can make a massive impact on the way your photos turn out. Notice how the light falls on the area you want to shoot. Maybe you are there in the evening and your shot is backlight (though this can also look good sometimes, more on that later) which will put all the details in the shadow. The same shot taken the next morning, when the direction of the light changes could be much more impactful.
In India, where lots of old monuments are built in yellow and red sandstone, the glow of the morning or evening sun can give your photos that ethereal look, as against shooting in the middle of the day when the light is harsh and makes everything look flat.
So forget about shooting in the day, the best times to shoot are around an hour or two after sunrise and about an hour before sunset. This period, known as the golden hour, is when the light is soft and warm and brings out the details in a subject and makes the photo much more pleasing. Sometimes it could even make sense to visit the same place in the morning and the evening to ensure that you get the best possible light to nail the shot you want.
2. Find a unique perspective
Since you now know that you should shoot only during the golden hour, why not spend some of that time in the middle of the day to plan your shots better!
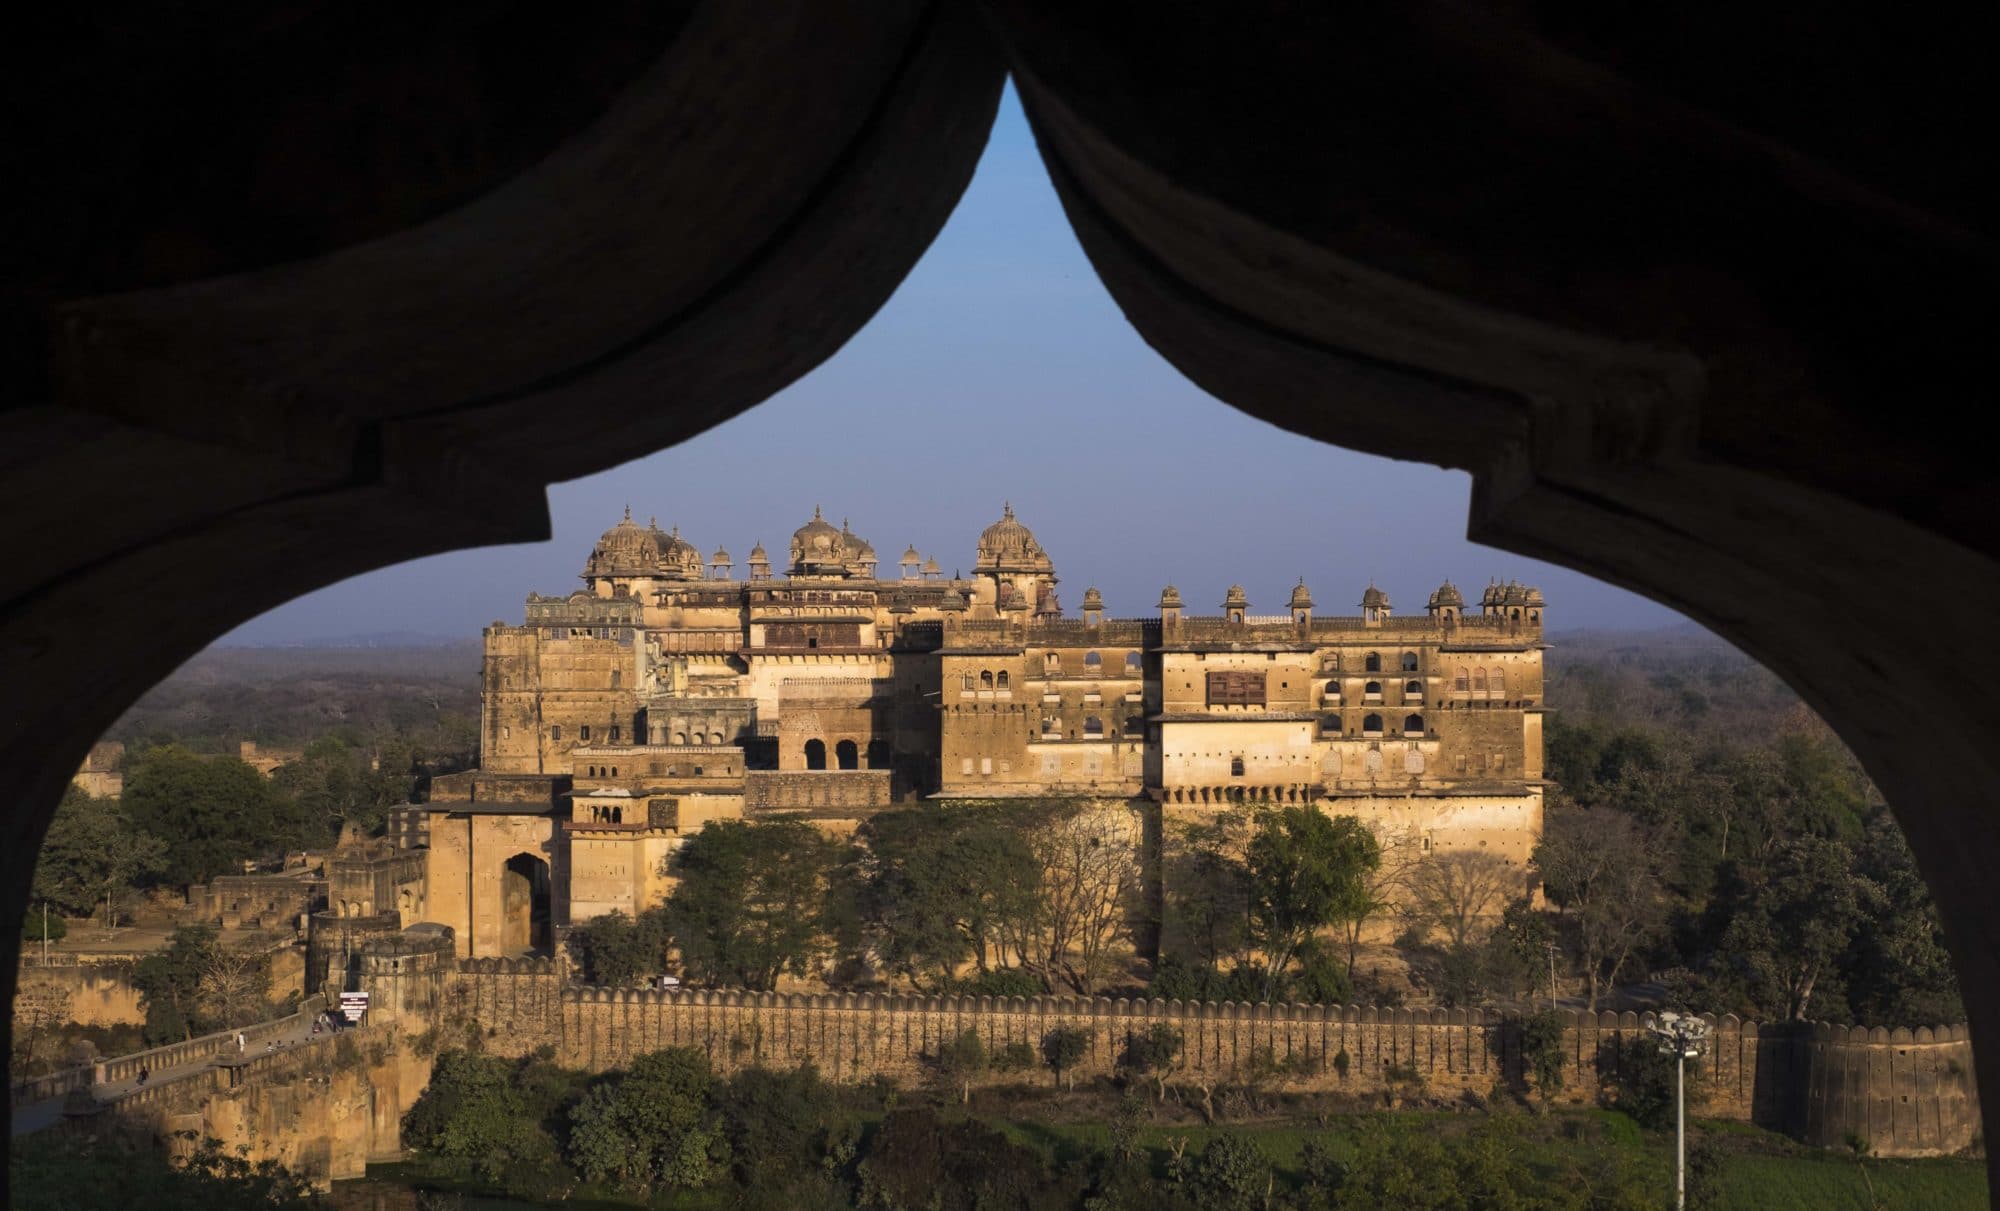
Most popular monuments are visited by the hundreds, and most folks tend to take the same photos they have seen online, which usually are the most obvious views of the place. Try to go beyond the obvious to make your shots stand out from the crowd.
This might take a little effort ! Scope out the location. Walk all around. Climb up to a higher vantage point. Crouch down and take some shots to see how that works out. Shift your composition to upset the balance and give it a non traditional look. Sometimes just shooting a monument from the side or from behind, where people may not usually shoot it from, can give your viewer a unique perspective of the place.
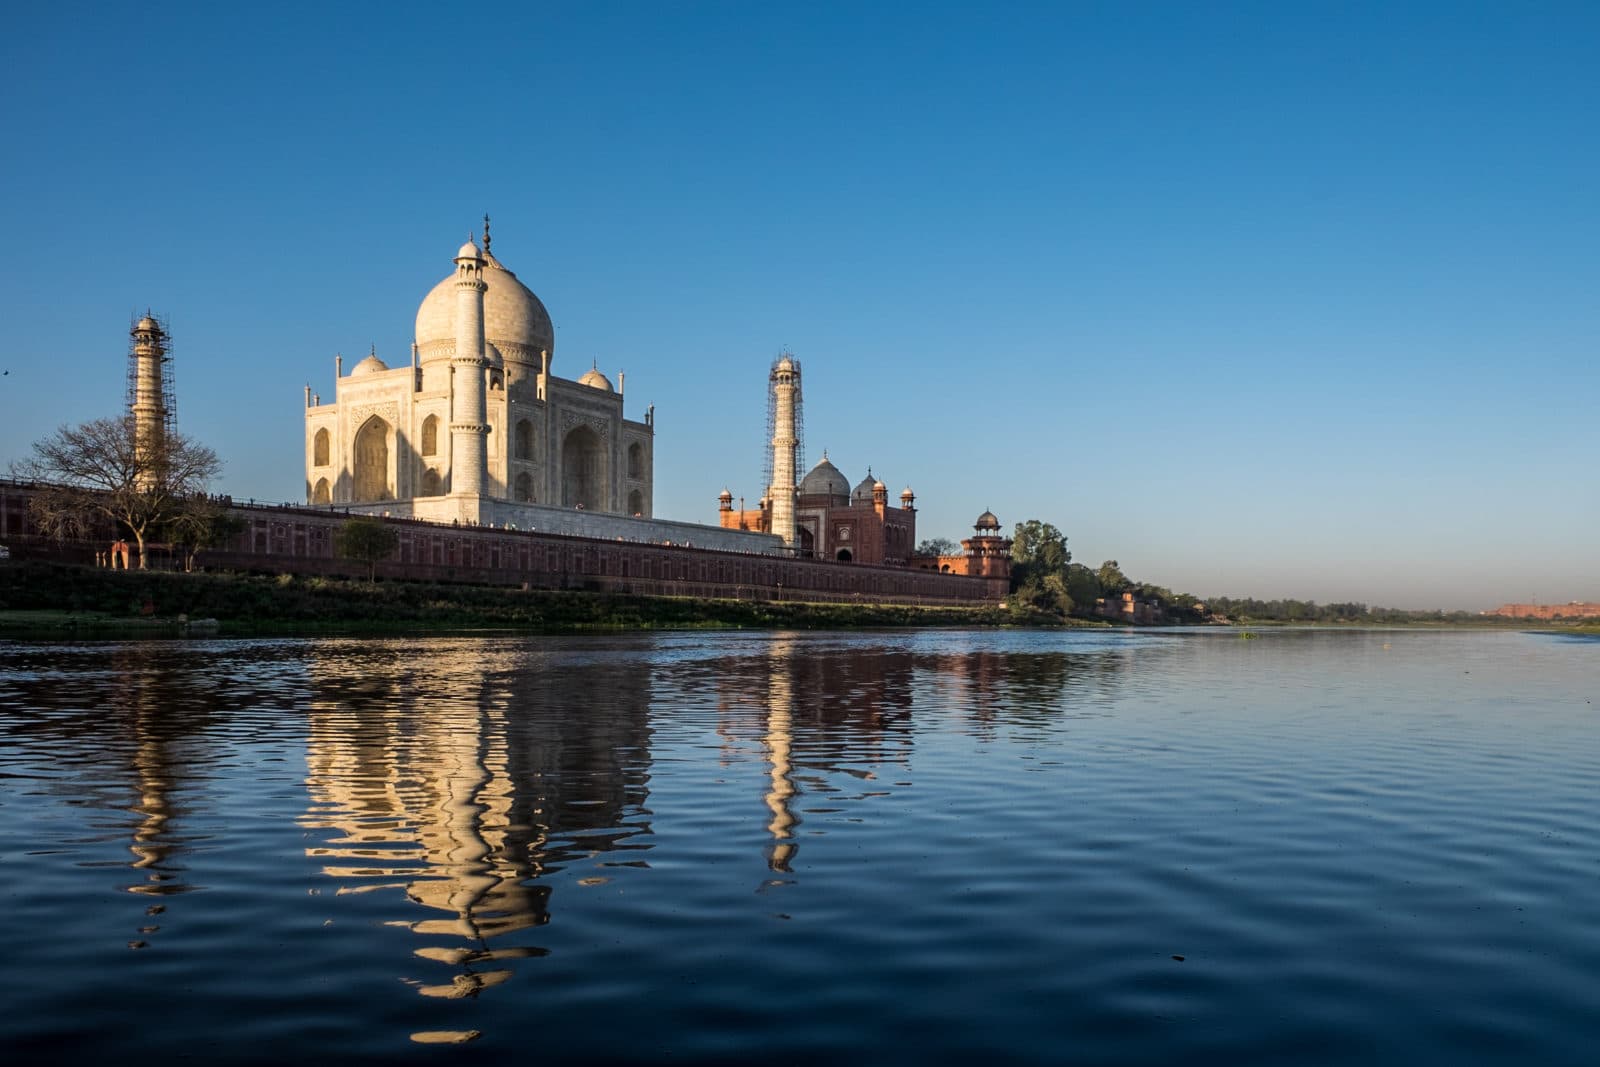
For e.g.: This photo of the Taj, one of the most photographed monuments in the world is taken not from the front gate where 95% of all Taj photos are taken, but instead from the east side, over the Yamuna, which not only offers a different perspective but also gives a beautiful reflection of the monument.
Trying different things and taking many shots of the same monument from various angles helps create a photograph and a vision that is uniquely yours.
3. Add additional elements to engage your viewer
Today most historical sites are overrun and crowded, and I for one try to get shots which convey the feel of place without all the crowds. Sort of how I imagine it might have been back in the day without hundreds of tourists milling around.
However the flip side is that this can sometimes make a place appear uni dimensional and lifeless. Some monuments deserve to be shot in all their grandeur without any distractions, whilst others may not be as spectacular (because they might be in ruins or a bit run down) and can benefit from having additional elements to engage the viewer.
For eg: Adding a human element to a photo always helps the viewer connect with the shot. It also helps put the scale of what you are shooting in perspective, which is sometimes not so obvious. You can also bring in trees, birds flying, reflections in the water or the setting sun in your shot to add an extra dimension and balance the composition. It will make your photos exponentially better.
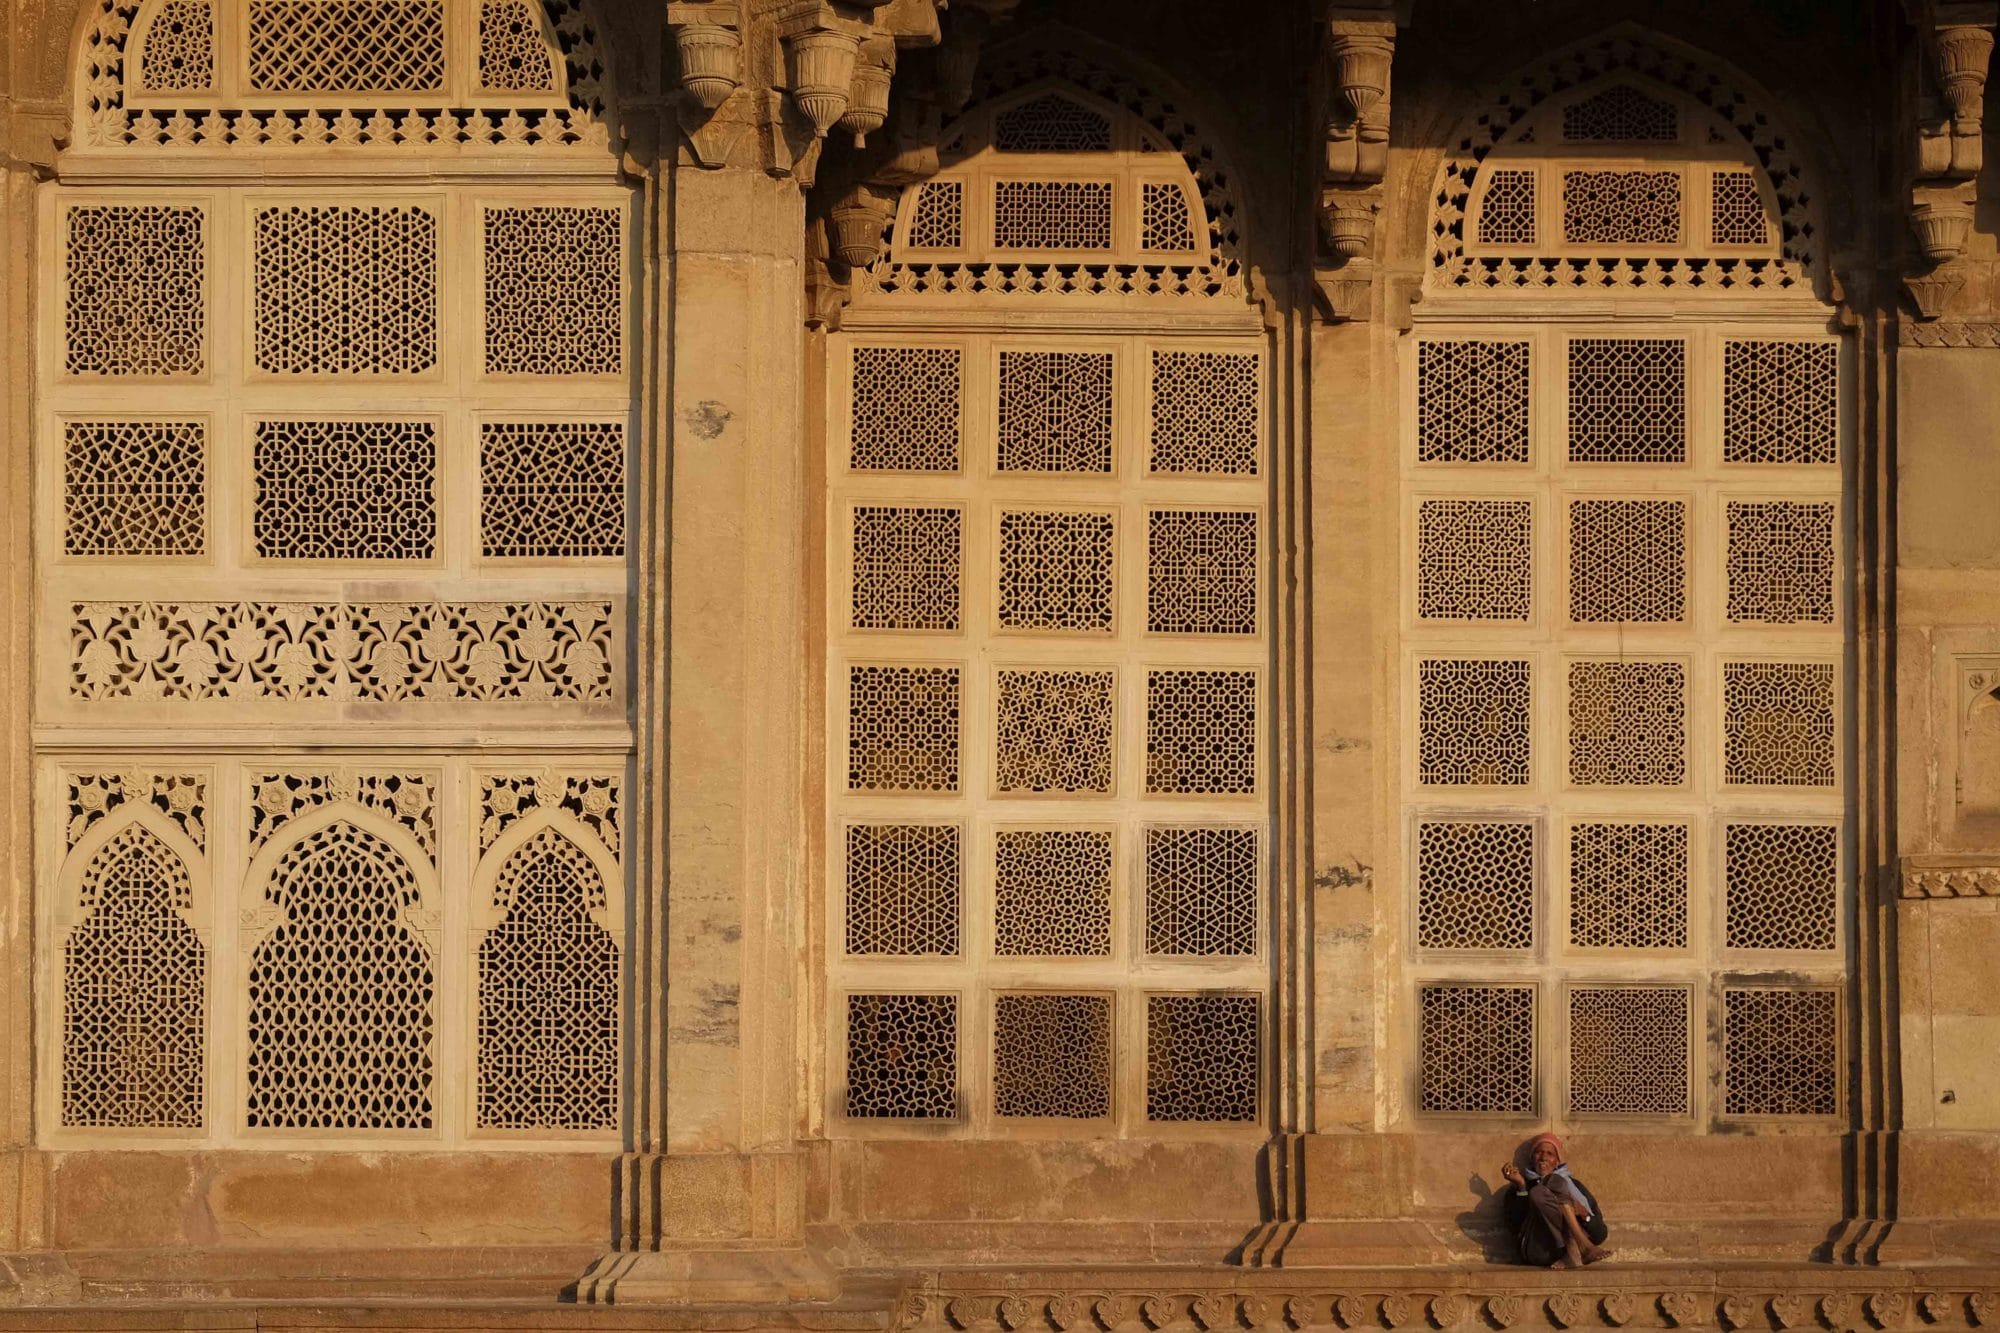
4. Focus on the details
Whilst most architectural shots tend to be made with wide angle lenses to take in the entire scene, sometimes a little more focus can help bring out the character of the old fort or palace or tomb. So don’t get obsessed with only taking those wide shots attempting to fit the whole monument in one frame; try to show the viewer the finer details: the intricate carvings, the colour of the stone or the delicate inlay work that is abound in monuments. Sometimes you can focus on the details in some elements whilst juxtaposing them against the larger structures in the background, thus showing not only the detailing but also the scale, all in one image.

5. Find a vantage point which allows you to take in the whole monument without tilting your camera upwards to avoid distorting
The human eye and the camera tend to see things differently and a scene that can appear completely natural to you can be horribly distorted in camera. This happens all the more when you use wide angle lense. To make sure your photos appear as natural as possible, especially when shooting a large monument, try and step back and find a higher vantage point. This will allow you to take it all in and not have to tilt the camera upwards. Climbing up nearby steps, rocks or even a hill can help take in the whole monument whilst keeping the camera pointed dead straight. This will keep distortion to a minimum and help your photos appear more natural and pleasing to the eye.
6. Use smaller apertures for sharper photos.
Most folks who get themselves new f2.0 Lens believe they must always shoot at f2.0 or the widest aperture to get the best photos. After all you paid so much for that extra couple of stops of light, its gotta be the key element in creating great photos, right? Wrong!
Wider aperture lenses, whilst producing wonderful ‘bokeh’ in the out of focus areas, tend to be least sharp at their widest aperture. It is always advisable to use a smaller aperture when shooting architecture or any sort of photography where maximum sharpness and detail is required. A good thumbrule is to choose an aperture bang in the middle of range your camera has, as that tends to be the sweet spot of the lens and offers you the best quality. Thus, rather than shooting at f2.0, try to shoot somewhere between f8 – f11. This will offer you improved sharpness and and a wider depth of field, ensure that everything in the image is in focus and help avoid avoid soft images with out of focus areas.
7. Break all the rules!
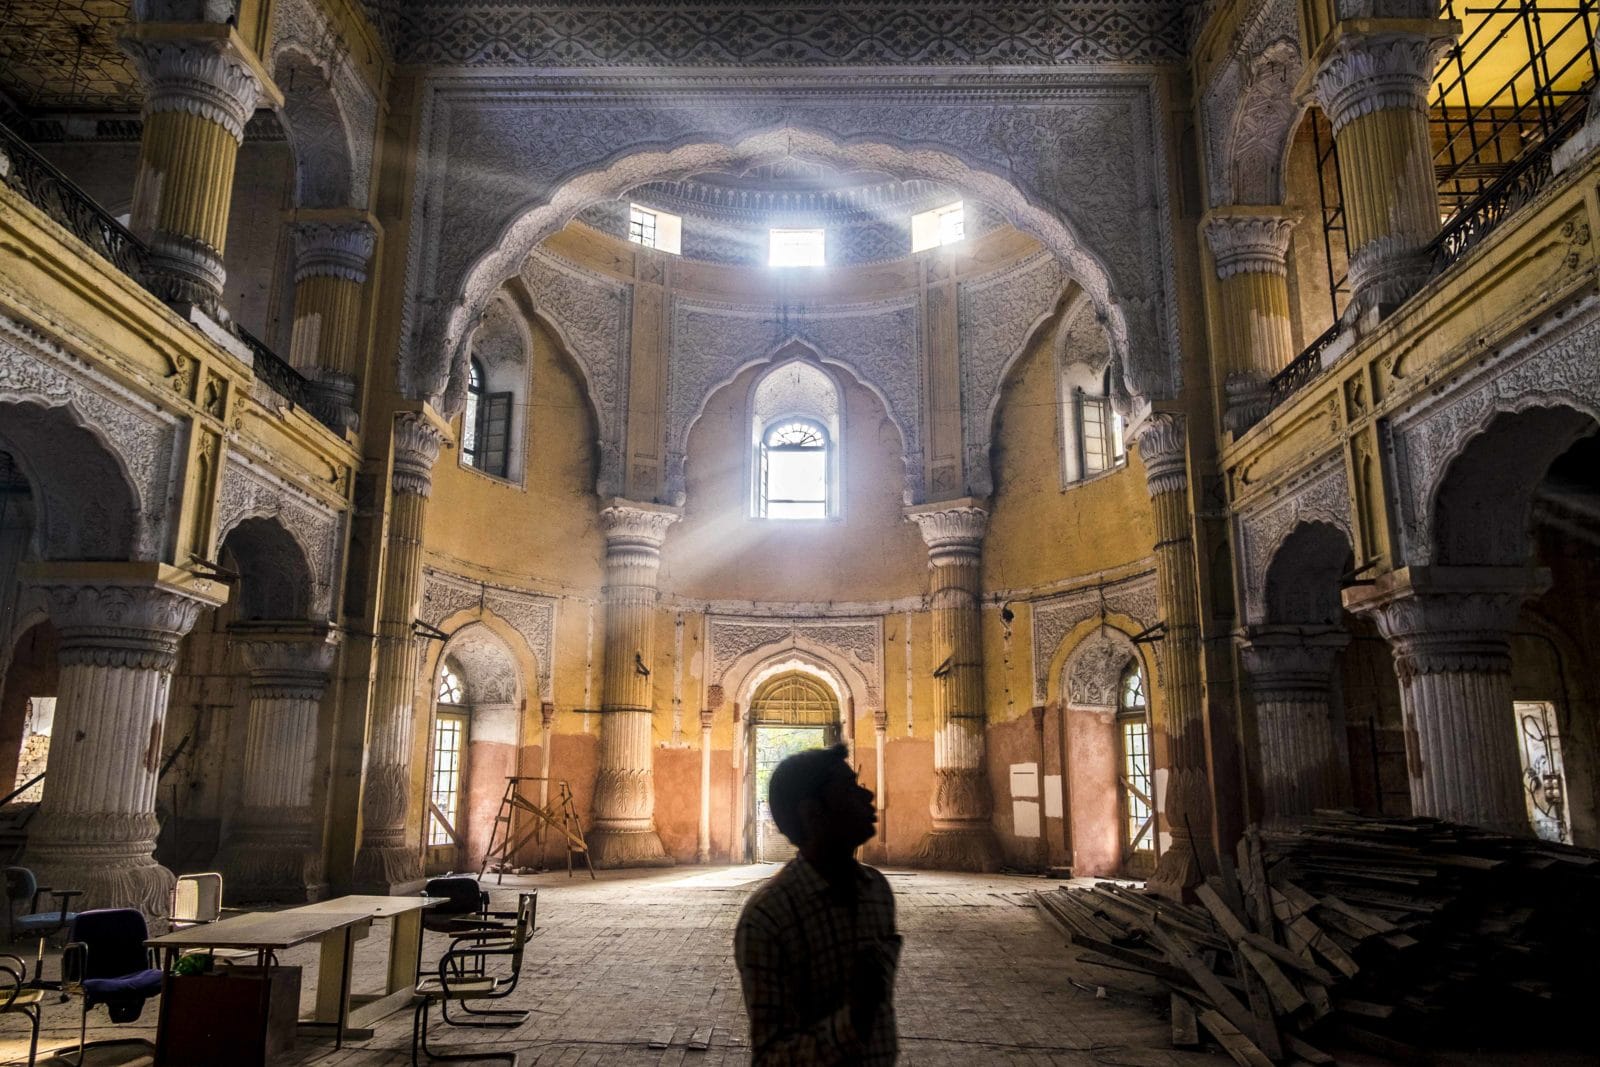
Lastly, bear in mind that all the rules and tips above are indicators and guidelines. While they will point you in the right direction towards making a pleasing composition, a good photo is one which connects emotionally with you and your viewers. As you learn the rules it is also important to learn how to mould or break them to make creative images.
For eg. Whilst it is always better to have the light fall on your subject, sometimes backlighting your subjects to create silhouette can make stunning images.
Or, shooting to avoid distortion will help create well balanced images that are pleasing to the eye, but don’t forget that you can use distortion to create dramatic photos that exaggerate the scale of a place.
